Let's have a chat about Tracking Tunnels!
Since we no longer have tracking tunnels available in the Trap Library, how about making your own? Check out the Kids’ Corner activity in the April issue of the Valley Voice or read below for some more ideas for how to make your own tracking tunnel! But first, I was really interested to discover the development of tracking tunnels and how and why we use them.
A brief look into the past...
I found the DOC Inventory and monitoring toolbox, which mentioned that tracking tunnels were first described by Carolyn King and R. Edgar, published in 1977 from their journal article, “Techniques for trapping and tracking stoats (Mustela erminea): a review, and a new system” in the New Zealand Journal of Zoology. In the journal article, the authors described a ‘footprint recording system’ that used the paper-and-ink technique where animals walk through, their feet get coated in ink and leave their footprints behind. This is very similar to what we use today, however, there were also a few different methods for tracking footprints at the time.
King and Edgar describe several different techniques for footprint tracking, including stimulating dust on a dry surface with carbon particles or fine talc, observing footprints in snow, and using sand. These methods meant the footprints wouldn’t last though, and couldn’t be stored and recorded later. They also describe the use of inks and paper that spoiled or dried too quickly or that were really strong smelling like printing ink on a tile - the footprints didn’t last and leftover ink had to be cleaned with petrol. These methods were all affected by seasonal changes and weather too. King and Edgar instead used a “two-component dye system” as part of a paper and ink set up (similar to what we use today), but ink from an ink pad that animals walked through reacted with chemicals soaked on paper left footprints that could last for 10-30 days.
What do we use today?
Footprint tracking has since developed from this first published account in 1977. Tracking cards that are readily available to buy online today are made of cardboard coated in PVC (thin plastic) that prevents the ink drying out. The ink itself is a special formula containing some of those same earlier used ingredients (talc, carbon black) as well as some more technical chemicals such as benzenesulfonic acid, triethylamine salt, polyethylene glycol tridecyl ether phosphate and white mineral oil. Oof, it's a bit of a mouthful, huh!
I also wondered why we might use tracking tunnels to detect predators, rather than just using the results from trapping. I found that tracking tunnels are really useful to know what species are around to then know what the best traps to use are to catch the culprits. Tracking tunnels might also be better at detecting species that aren’t so easy to catch in a trap. You can also use tracking tunnels to dectect species you might not want to trap, like lizards and wētā.
How about making your own tracking tunnels?
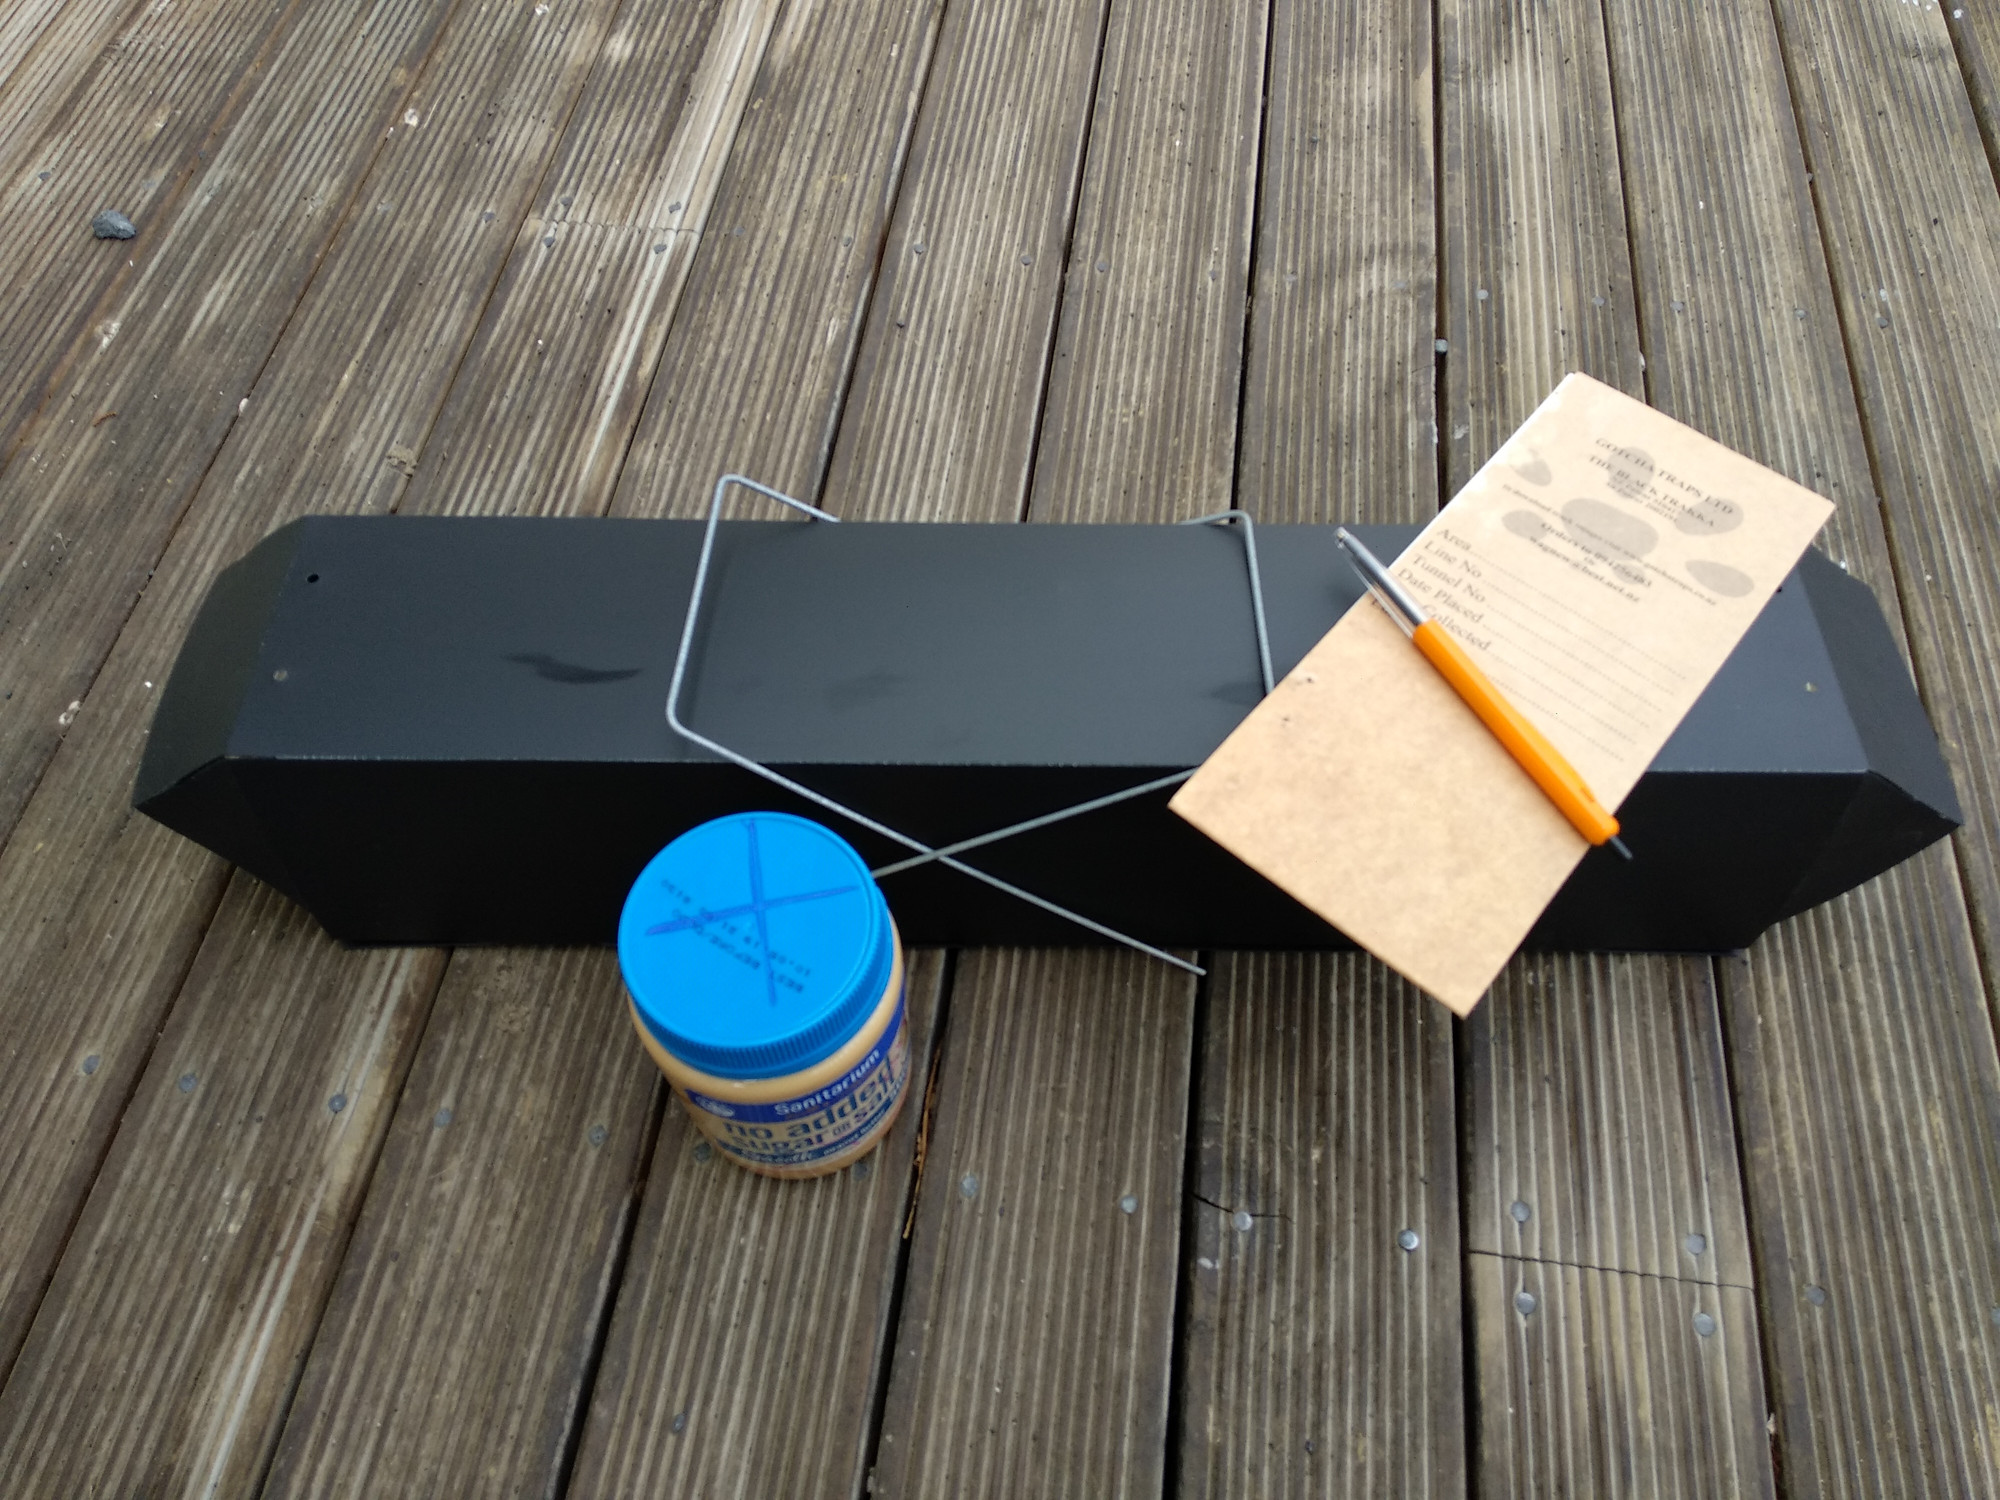
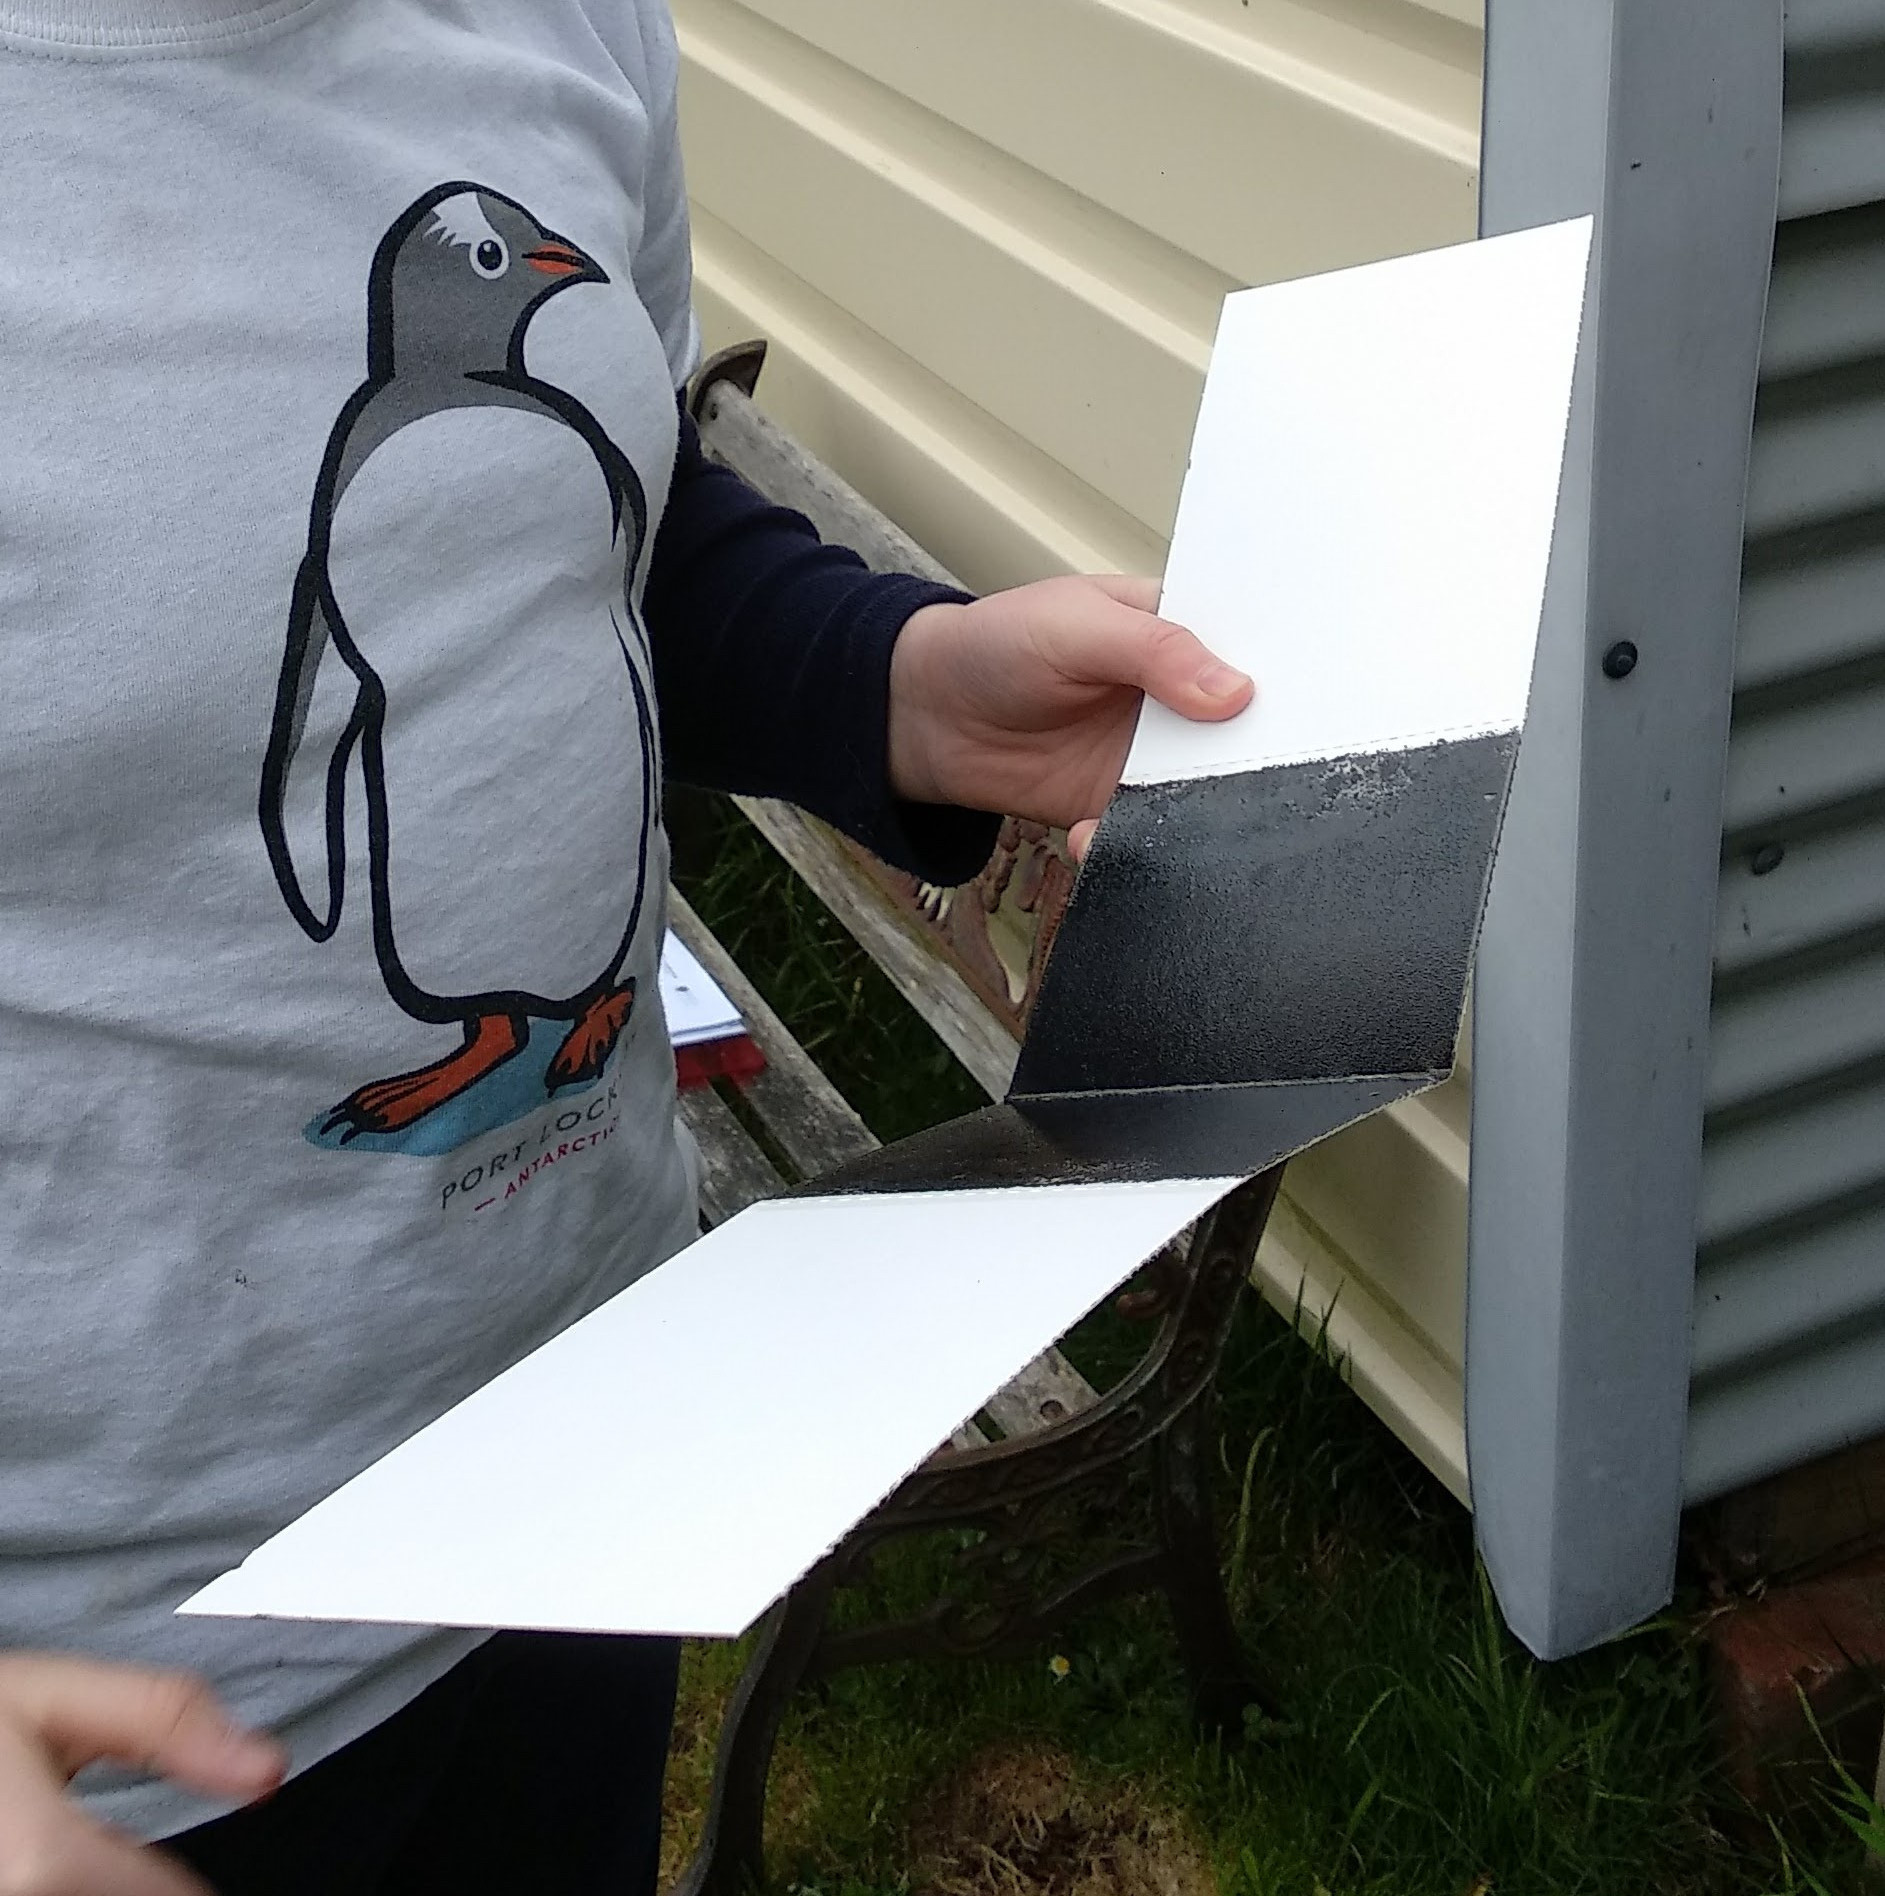
But, without a professionally made tracking tunnel on hand, you can make your own! There are a few different designs online, that use tissue paper and food colouring, sponges and food colouring or carbon powder for the ink. For the tunnels there’s a few different things you can try. Repurpose old milk cartons, an old cardboard box, or the old corflute realty sign. Check out the list below for some different designs. You could see which one works best! The bait (food to entice the animals into the tunnel) is also important. Think about the things that rats and mice might like to eat - fatty and sweet. Peanut butter is usually a pretty safe bet!
Health and Safety is really important when collecting the tracking tunnel in. Remember that animals (hopefully), will have interacted with the tunnel so either wear gloves and/or wash your hands after handling.
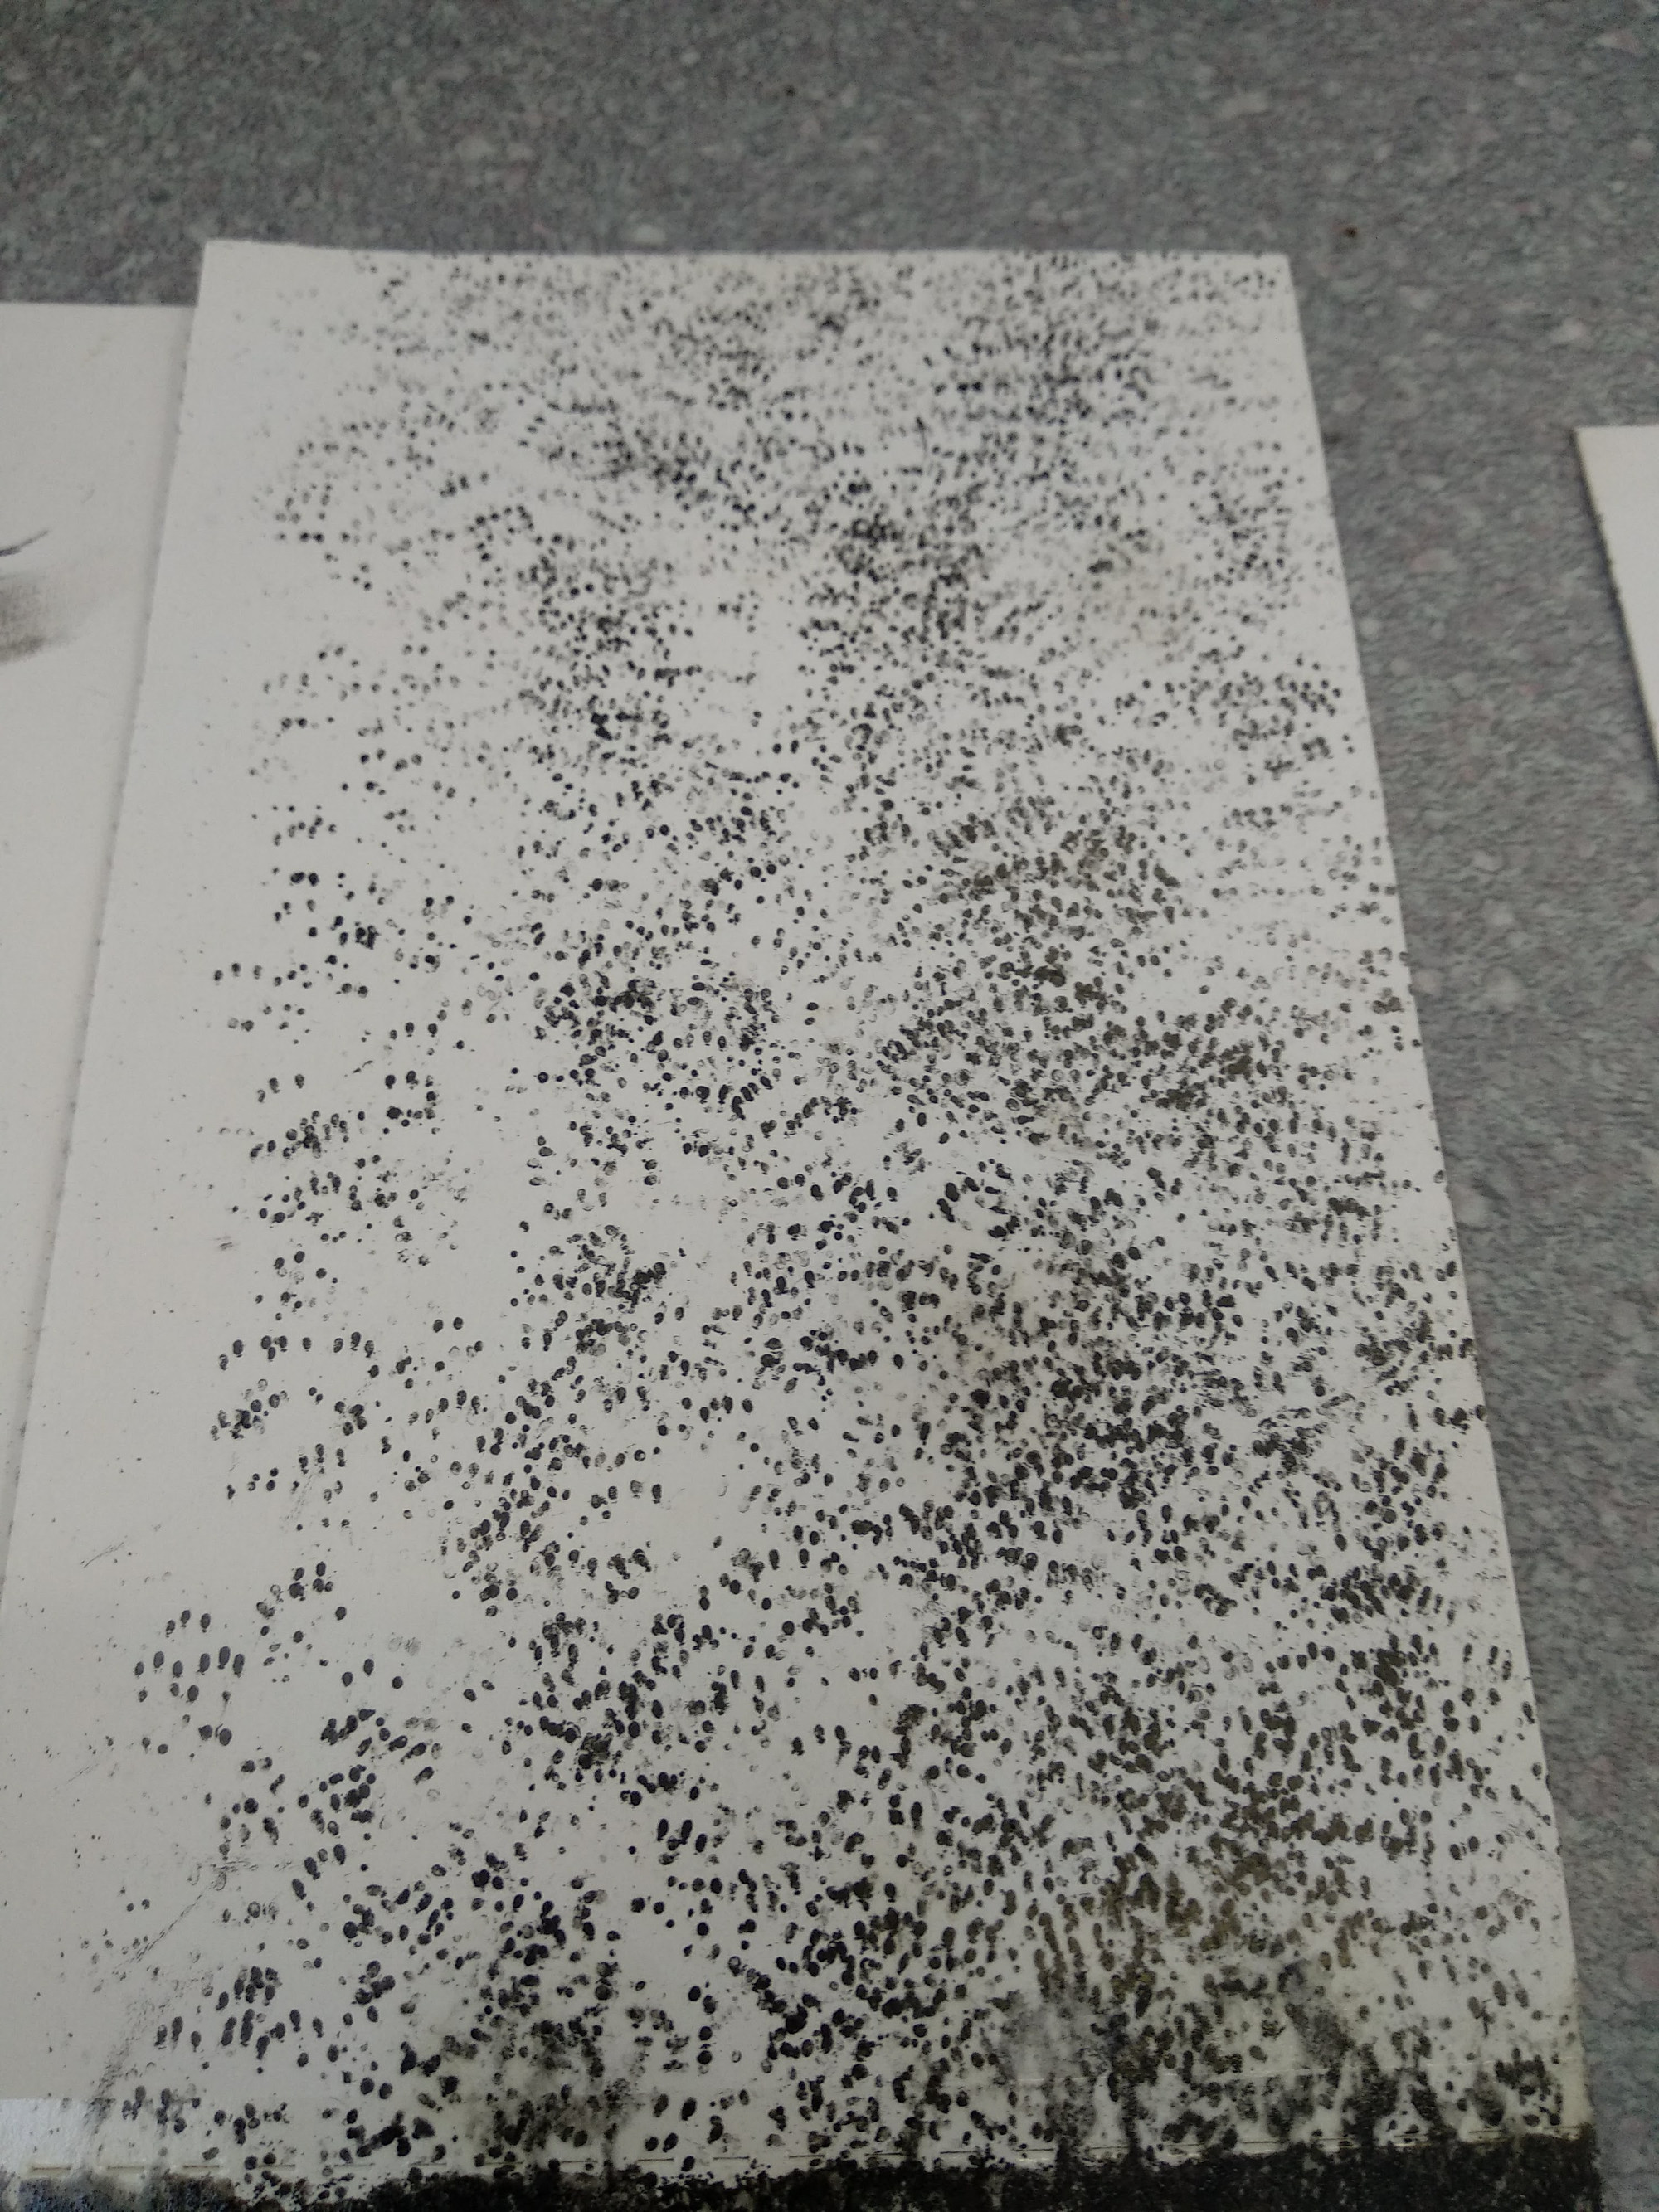
So you’ve put your tunnel out overnight, collected it in, all the bait is gone and there are some footprints. I found it took some time for me to be able to interpret different footprints, and sometimes it’s not quite so straightforward - some of the animals can be a little messy! For comparisons, there are some really great websites and resources available. Keep a look out for prints made by mammals (those you might want to trap), or other animals (those you might want to keep safe). If you find, once you start trapping that mammal prints decrease and other prints increase, your trapping is working. There are other ways, of course, to determine if your efforts have been successful, but it’s quite cool to see prints for animals like lizards and wētā!
Happy tracking!
Try out these different designs!
Tracking tunnel designs from New Zealand:
- Kiwi Conservation Club (NZ): Make a tracking tunnel
- DOC (NZ): Make your own tracking tunnel (you can also earn a kiwi guardian medal for being a pest detective)!
Tracking Tunnel designs from the UK:
Interpreting different footprints (and other animal signs)
More information about tracking tunnels!
Journal Article by King and Edgar: https://www.tandfonline.com/doi/abs/10.1080/03014223.1977.9517953
Carolyn M. King & R. L. Edgar (1977) Techniques for trapping and tracking stoats (Mustela erminea); a review, and a new system, New Zealand Journal of Zoology, 4:2, 193-212, DOI: 10.1080/03014223.1977.9517953